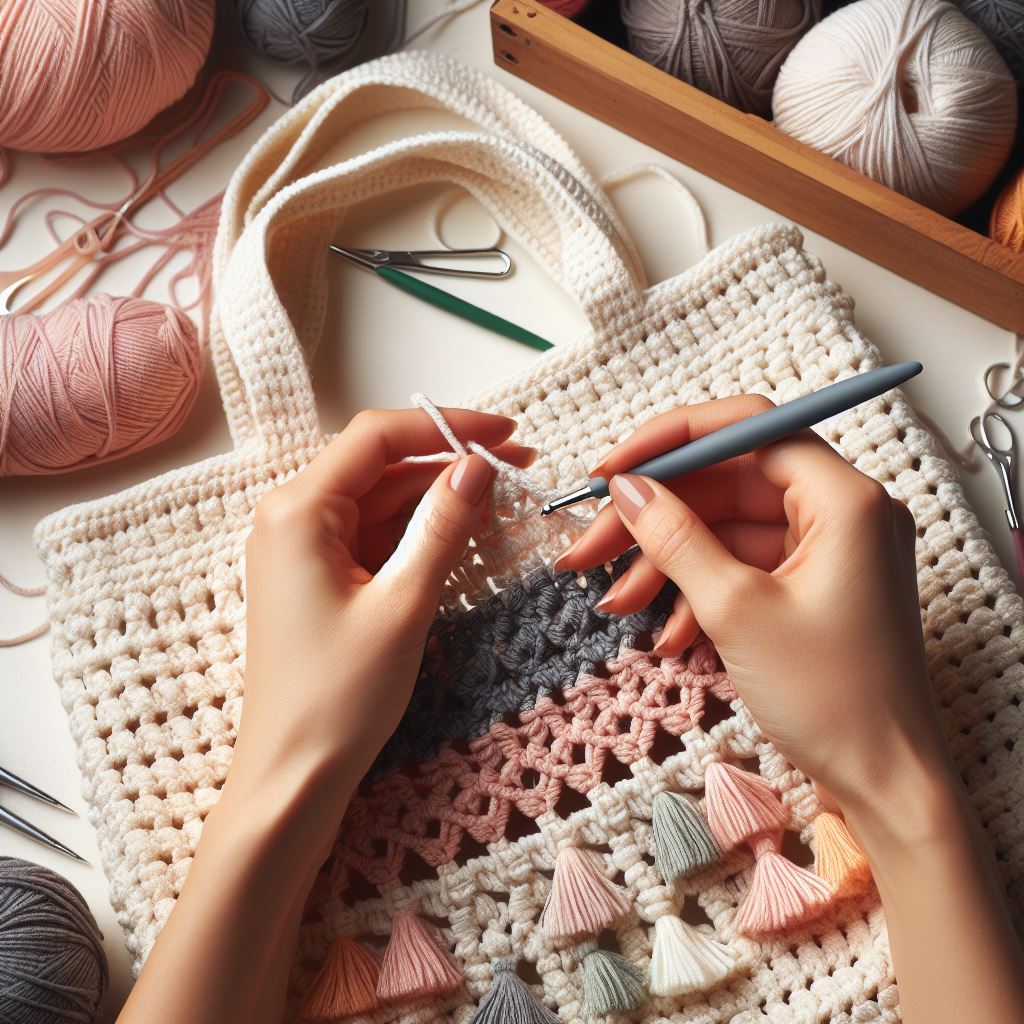
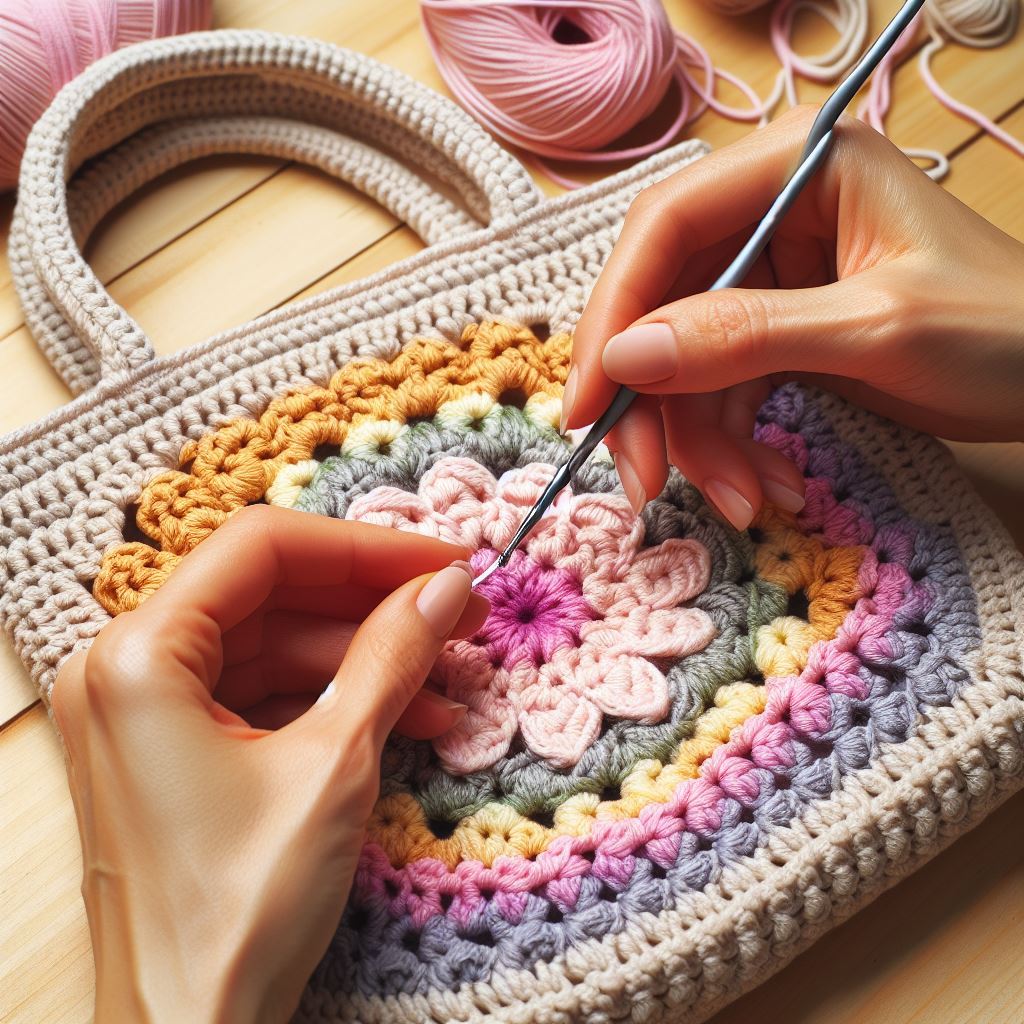
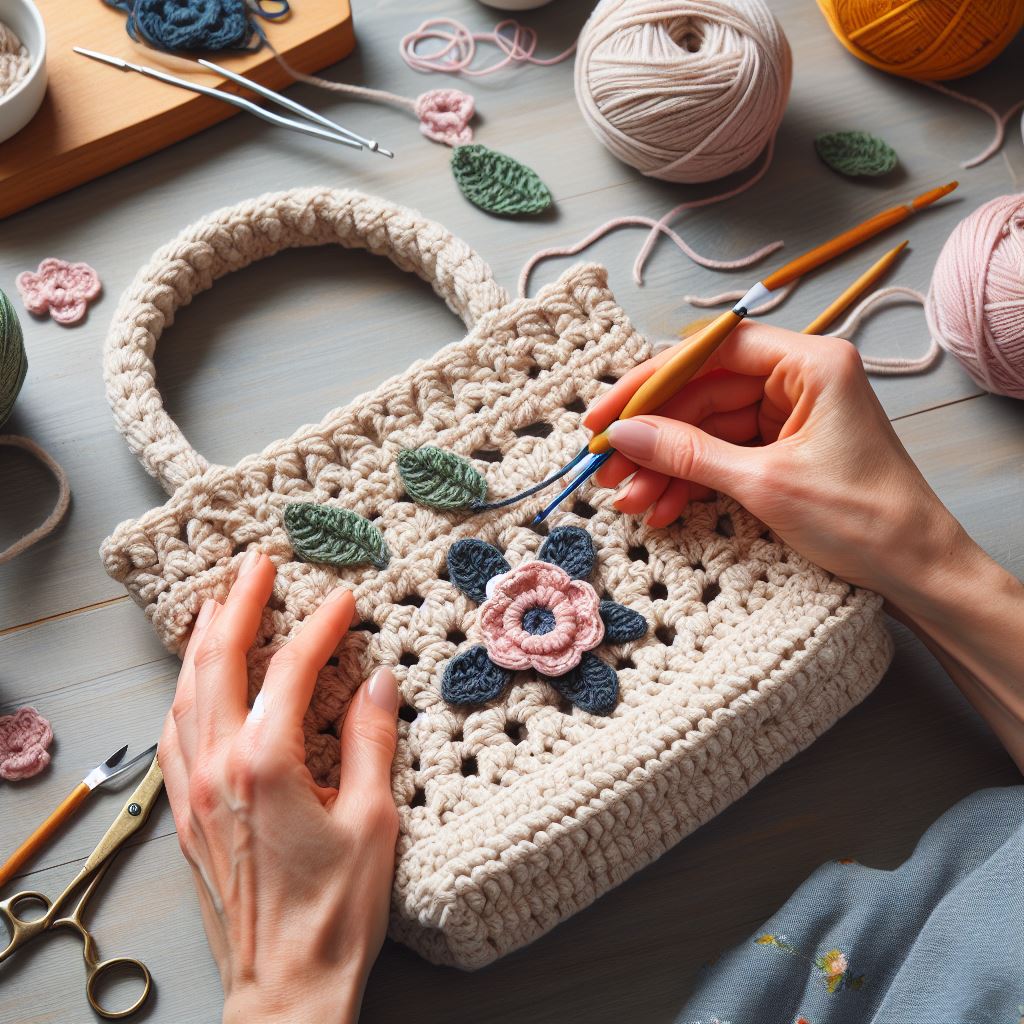
In today’s eco-conscious world, carrying reusable shopping bags has become a must-do for sustainability. But why settle for plain, boring totes when you can crochet your own stylish and unique bag? This beginner-friendly DIY crochet shopping bag pattern is the perfect weekend project.
These handmade bags are durable and practical for trips to the grocery store or farmers market and make wonderful, personalized gifts. Crochet is an incredibly satisfying hobby that’s easy to learn, inexpensive to start, and provides numerous mental health benefits.
So gather your yarn and hooks – by the end of this step-by-step guide, even absolute beginners will be able to craft an eye-catching, eco-friendly crochet market bag!
Materials & Supplies Needed
Before we dive into the pattern, let’s go over the key materials you’ll need:
- Worsted weight cotton yarn (approx. 300-400 yards)
- I recommend Cotton-ish by Vickie Howell for its sturdy yet soft texture
- Size H/8 (5.0mm) crochet hook
- Yarn needle for weaving in ends
- Scissors
Optional notions:
- Stitch markers
- Row counter (or check out this row-counting app)
You can purchase all the essential supplies hassle-free in this Crochet Kit for Beginners Daisy on Amazon.
Having the right tools will make your crochet experience much smoother from the start!
Getting Started – Crochet Basics for Beginners
If you’re brand new to crochet, don’t worry – we’ll cover this pattern’s fundamental stitches and techniques. Experienced crocheters can skip ahead to the pattern section.
Learning the basics is key to setting yourself up for crochet success. While it may feel a bit fumbly at first, muscle memory will kick in quickly with practice.

How to Make a Slip Knot
Every crochet project starts with a slip knot to secure your yarn to the hook. Follow these steps:
- Make a loop by holding the yarn tail under the working yarn, creating a pretzel shape.
- Insert your crochet hook into the loop from front to back.
- Grab the working yarn with the hook and pull it through the loop on the tail end.
- Gently adjust and tighten the new loop on your hook.
Pro Tip: For a visual guide, check out this slip knot video tutorial. Learning to make a proper slip knot will prevent your work from unraveling.
Learn the Basic Crochet Stitches
This bag uses three main stitches, which we’ll go over:
Chain Stitch (ch): This creates the foundation row. Make an underhand loop with the working yarn and pull it through the loop on your hook.
Single Crochet (sc): Insert hook into stitch, yarn over hook, pull loop through—now there are two loops on hook. Yarn over again and pull through both loops.
Double Crochet (dc): Yarn over, insert hook into stitch, yarn over again, and pull loop through stitch (three loops on hook now). Yarn over again and pull through the first two loops, then yarn over again and pull through the final two loops.
Tip: Watch step-by-step video tutorials to see these stitches in action clearly. Pause as needed to practice each new stitch.
Reading Crochet Pattern Abbreviations
Most patterns use standard abbreviations, so here are some common ones:
- st(s) = stitch(es)
- sk = skip
- sp = space
- yo = yarn over
- rep = repeat
-
-
- = repeat instructions between symbols
-
Don’t worry if these seem confusing now – after practicing, abbreviations will become second nature. Having a chart handy can also help jog your memory.
Creating consistent, even stitches is crucial for beginners. With patience and diligent practice, you’ll be whizzing through these basic crochet fundamentals in no time!
Easy DIY Crochet Shopping Bag Pattern
Difficulty: Beginner Total Time: 5-8 hours
Gauge & Measurements
Gauge: 12 sts x 11 rows = 4″ square in single crochet
Finished Size: 13″ wide x 12.5″ tall (without handles)
Checking your gauge before beginning a crochet pattern ensures your finished project will be the expected size. To measure gauge:
- Crochet a 4″x 4″ swatch in pattern stitch
- Lay swatch on flat surface, gently stretching to measurements
- Count stitches and rows across 4 inches
- If count is more than 12 sts, use a larger hook; if less, go down a hook size.
Step 1 – Make the Bag Base
With your worsted cotton yarn and size H crochet hook:
Ch 36.
Row 1: Sc in second ch from hook and each remaining ch across. Turn. (35 sc)
Rows 2-35: Ch 1, sc in each st across. Turn.
At end of Row 35, do not turn or fasten off. You’ll now start working in rounds to shape the bag.
Stitch Count Check: You should have 35 stitches in each row.
Step 2 – Crochet the Bag Body
Rnd 1: Ch 1, work 2 sc in same st as joining. 2 sc in each st around, do not join. Place stitch marker in first st to mark beginning of round. (70 sc)
Rnd 2: 2 sc in next st, sc in next st. *Rep from * around. Join with sl st in first st. (105 sc)
Rnd 3: Ch 1, sc in same st as joining and next 2 sts. *2 sc in next st, sc in next 3 sts. Rep from * around to last 2 sts. 2 sc in next st, sc in last st. Join. (140 sc)
Rnds 4-30: Ch 1, sc in each st around. Join with sl st in first st.
Rnd 31: Ch 1, sc in same st as joining. *Sk next st, sc in next st. Rep from * around. Join with sl st in first st. (70 sc)
Fasten off, leaving a long tail for seaming later.
Tip: Use stitch markers or a row counting app to keep track of your rounds. Getting lost can easily happen when working in a continuous spiral.
Step 3 – Create the Bag Straps
Make 2 Straps:
Row 1: With new yarn, ch 120. Sc in second ch from hook and each remaining ch across. Turn. (119 sc)
Row 2: Ch 1, sc in each st across. Turn.
Rows 3-20: Repeat Row 2.
Fasten off, leaving long tail for seaming.
At this point, your straps should measure around 24 inches long for an over-the-shoulder length. Adjust rows as needed for desired strap size.
Step 4 – Assemble the Bag
- Fold bag body in half and use yarn needle to seam the bottom with a whip or mattress stitch.
- For the handles, fold each strap in half with wrong sides facing. Attach strap to bag body by inserting hook through skipped sts on Rnd 31 and corresponding strap sts. Join with sl st.
- Weave in all ends neatly on the inside of bag.
Congratulations, your crochet market bag is ready for adventure!
Pro Tip: To create a firmer base, you can sew a round piece of plastic canvas or cardboard to the inside bottom before seaming.
Customization Ideas
One of the joys of handmade items is the ability to put your own spin on a pattern! Here are some easy customizations:
- Stripes: Alternate colors every few rows for a bold, striped look.
- Patterns: Incorporate textured crochet stitches like puff, bobble, or crossed stitches.
- Pockets: Crochet separate pocket pieces and sew or crochet them onto the bag exterior.
- Embellishments: Add appliques, tassels, pom-poms or other decorative elements.
- Sizing: Use a different weight yarn and adjust your hook size to make a mini bag, large beach bag, or anywhere in between.
The possibilities are endless to create a truly one-of-a-kind crochet shopping tote!
Caring for Your Crochet Bag

To keep your handmade market bag looking fresh, follow these care tips:
Cleaning: Gently hand wash the bag in cool water with a mild detergent or dish soap. Avoid washing machines which can be too rough. Roll in a towel to remove excess moisture, then lay flat to air dry completely.
Storing: Stuff the bag with cushioning material like tissue paper when not in use to help it keep its shape. You can also hang it on a hook or bag holder.
Repairing: If you happen to catch a pulled loop or small hole, use a yarn needle and matching yarn to delicately weave it closed with a duplicate stitch.
With proper care and the durability of cotton yarn, your crochet bag should provide years of reliable use!
Other Free Crochet Patterns to Try
Once you’ve mastered this shopping bag, keep the yarn craft fun going with these free patterns:
- Easy Mesh Grocery Bag – A unique netted design
- Modern Crochet Plant Holder – Add boho vibes to your home
- Chunky Crochet Basket – Quick decor or storage solution
- Simple Crochet Coasters – Protect surfaces stylishly
- Beginner Crochet Scarf – Keep warm while practicing
You can find thousands more free patterns for crochet clothes, accessories, home items and more on sites like Ravelry, LoveCrafts and AllFreeCrochet.
Benefits of Crocheting
Beyond the practical result of a new handcrafted item, crocheting offers a wealth of other benefits:
Stress Relief: The repetitive stitching motion has been shown to lower heart rate and achieve a calming, meditative state. It’s an excellent way to unwind after a busy day.
Enhances Focus: Keeping your crochet pattern straight requires concentration, which flexes your focus muscles. This can translate to improved focus in other areas of life.
Boosts Creativity: Playing with different yarn colors, stitches and techniques allows you to tap into your creative side. Crafting sparks innovative thinking.
Community Connection: Whether joining a local crochet group or connecting online, fiber arts foster meaningful social bonds over a shared interest.
Sense of Accomplishment: Completing a handmade project gives immense satisfaction. Each stitch yields visible progress toward the final goal.
So while crocheting achieves tangible results, the process itself also enriches your mental, emotional and social well-being.
Crochet Techniques to Master
Once you’ve got the basics down, level up your skills by practicing these intermediate crochet techniques:
- Reading Charts: Patterns shown in symbol diagrams rather than text
- Working in the Round: Spiral or joined rounds for seamless projects
- Colorwork: Stripes, planned pooling effects, intarsia
- Tunisian Crochet: A combination of crochet and knitting stitches
- Filet Crochet: Open, lace-like mesh fabric
- Amigurumi: Crocheted stuffed toys/characters
- Crochet Cables: Woven, twisted stitches that add texture
- Hairpin Lace: Strips of fine, open lace
- Broomstick Lace: Loops created over a large knitting needle
With each new technique conquered, a whole new world of creative possibilities opens in crochet! Refer to stitch dictionaries and video tutorials to learn.
Conclusion
Whether you’re a seasoned crocheter or picking up a hook for the first time, this easy DIY crochet shopping bag pattern is an immensely satisfying make. Not only will you end up with a sturdy, reusable tote, but you’ll have the pride of brandishing a 100% handmade creation!
This pattern is specifically designed for visual learners, full of step-by-step photos to illustrate each section. So even absolute beginners should feel empowered to complete this simple crochet project from start to finish.
Once you’ve whipped up your first market bag, the customization possibilities are limitless. Make it your own by playing with different colors, stitches and embellishments. You may just get hooked on crochet!
So gather your yarn stash and crochet hooks, and get stitching a sustainable essential that will quickly become a daily go-to. Happy crocheting!

Leave a Reply