In an age where sustainability is becoming more important, DIY beeswax wraps provide an eco-friendly and reusable alternative to plastic wraps. Some reasons for their popularity are related to friendly effects on the environment and the storage of foods in such a way that waste reduction can be achieved by keeping food fresh. This extensive guide will take you through details, from how to make them at home to what to do to ensure they last. From choosing the right material to learning how to care for them properly, this guide has it all: what you need to pursue a more sustainable lifestyle.
Whether you are a seasoned DIYer with the environment in mind or just getting started on eco-alternatives, creating your beeswax wraps will be easy, money-saving, and truly rewarding by taking one more stride towards cutting that carbon footprint. Let’s check out this entire guide to preparing and taking care of beeswax wraps for the help of taking you off plastics and into a greener kitchen.
At the end of this guide, you will know everything necessary to make your beeswax wraps regularly and maintain them properly to last and serve their purpose for many years.
DIY Beeswax Wraps
The following guide shows you how to make reusable food wraps from cloth and beeswax, offering a sustainable alternative to cling film. Let’s dive into crafting your own beeswax food wrap with this comprehensively detailed tutorial.
Beeswax Wraps Recipe
- 100% cotton fabric (cut to desired size, such as 8×8 or 12×12 inches)
- Beeswax pellets
- Brush (optional)
- Parchment paper
- Iron
Steps
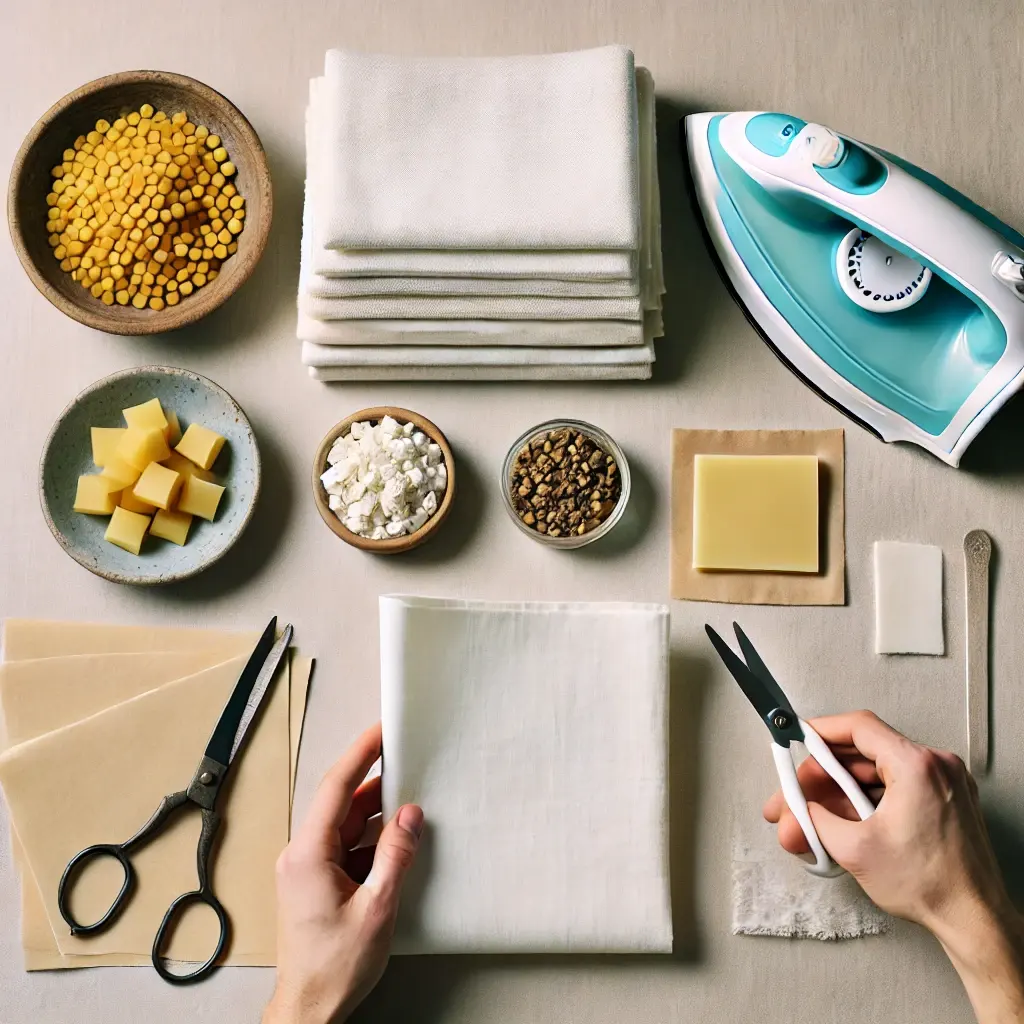
Step 1: Gather Your Materials
You’ll need 100% cotton fabric, beeswax pellets, a brush, parchment paper, and an iron.
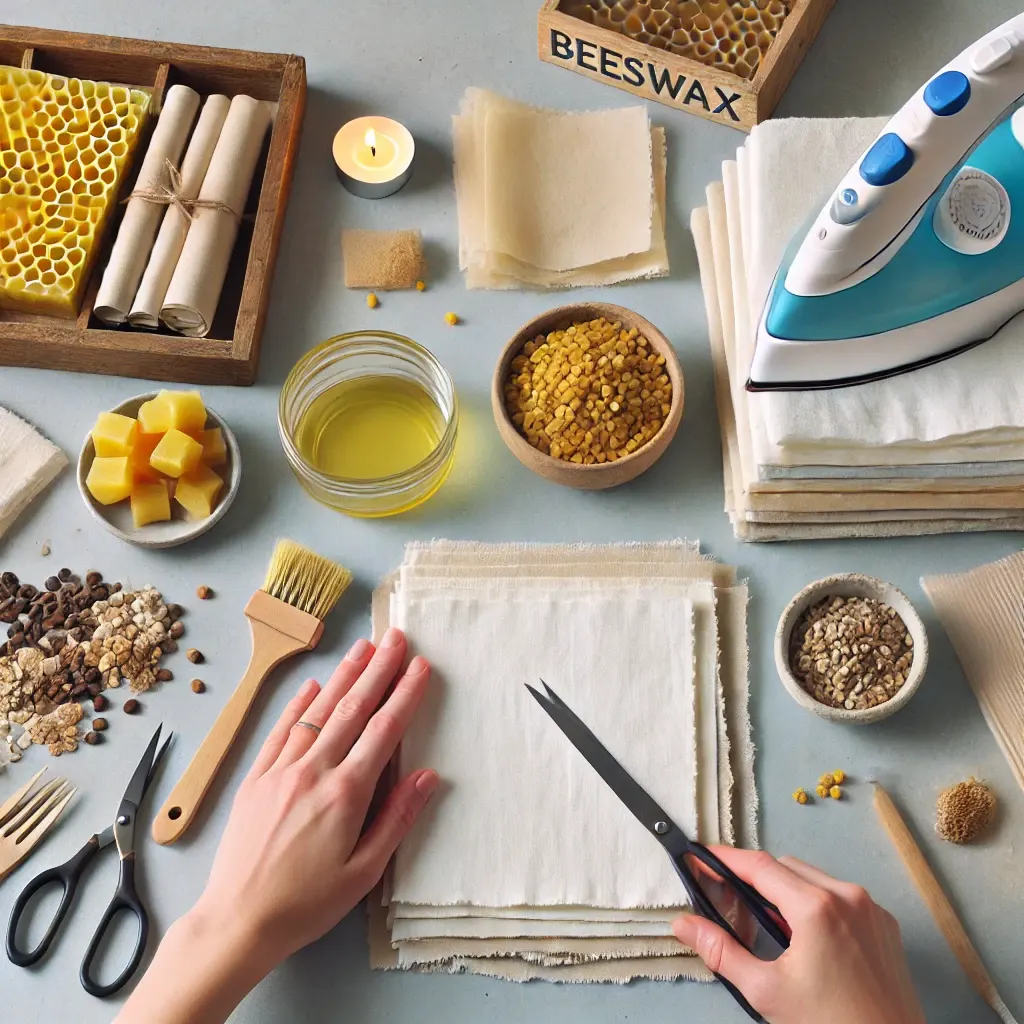
Step 2: Cut the Fabric
Cut the fabric into the desired size for your wraps. Common sizes are 8×8 inches or 12×12 inches.
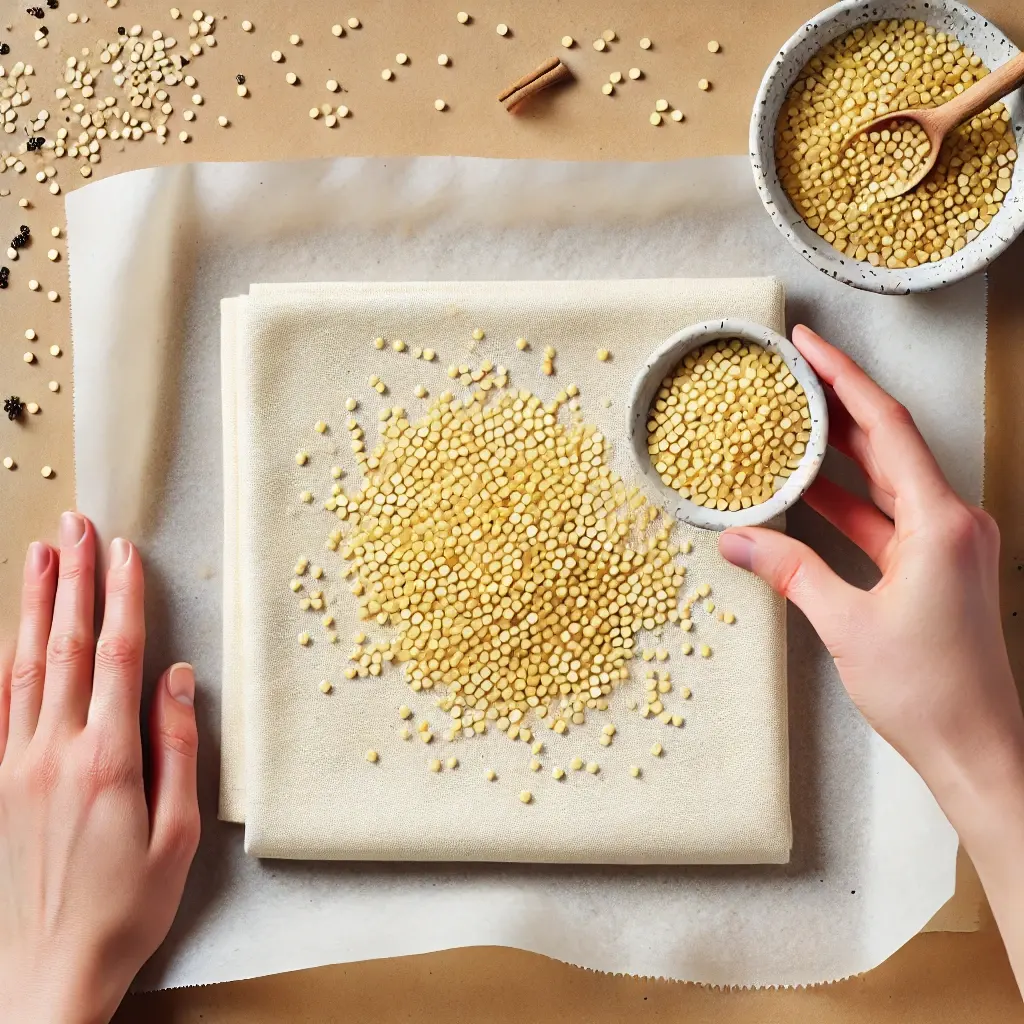
Step 3: Prepare the Fabric
Place the fabric on parchment paper. Make sure the parchment is large enough to cover both sides of the fabric.
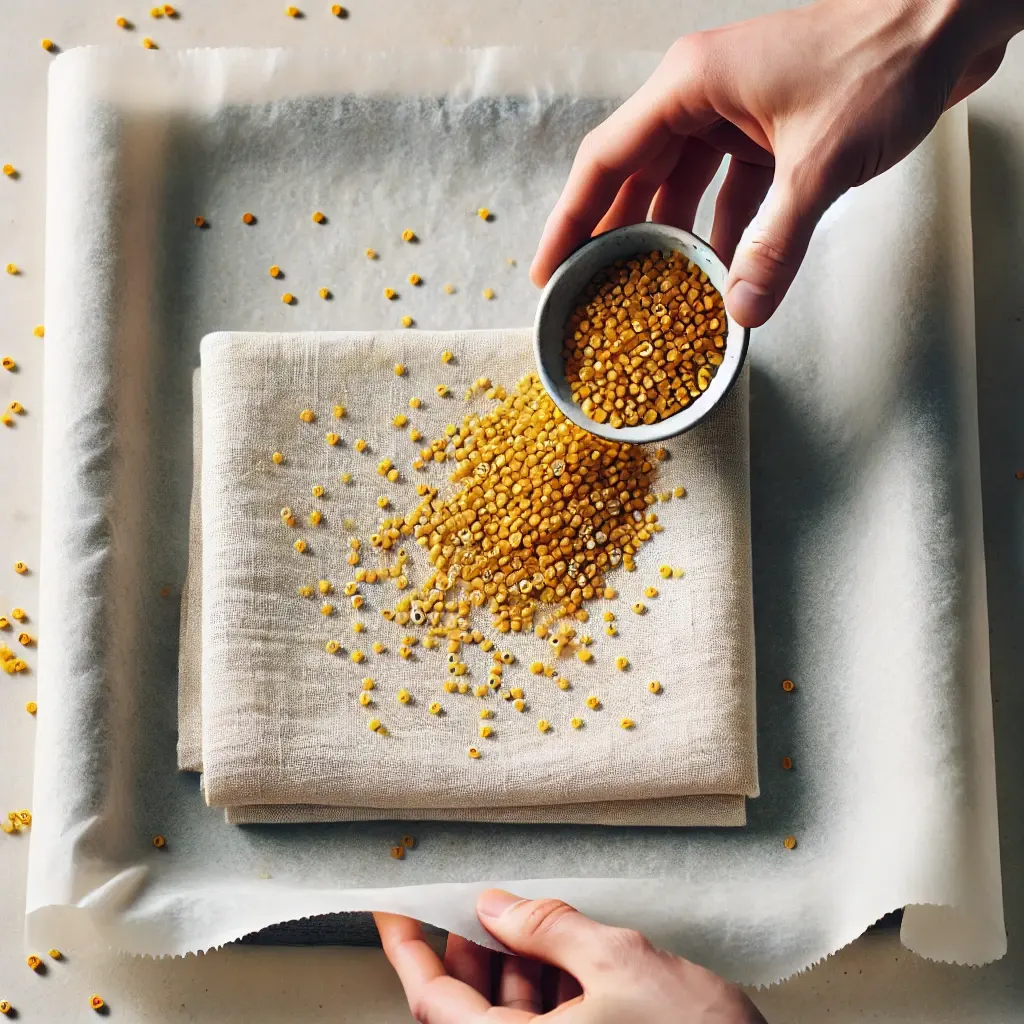
Step 4: Add Beeswax Pellets
Sprinkle beeswax pellets evenly across the fabric. Use more for thicker wraps, less for thinner ones.
Step 5: Cover with Parchment Paper
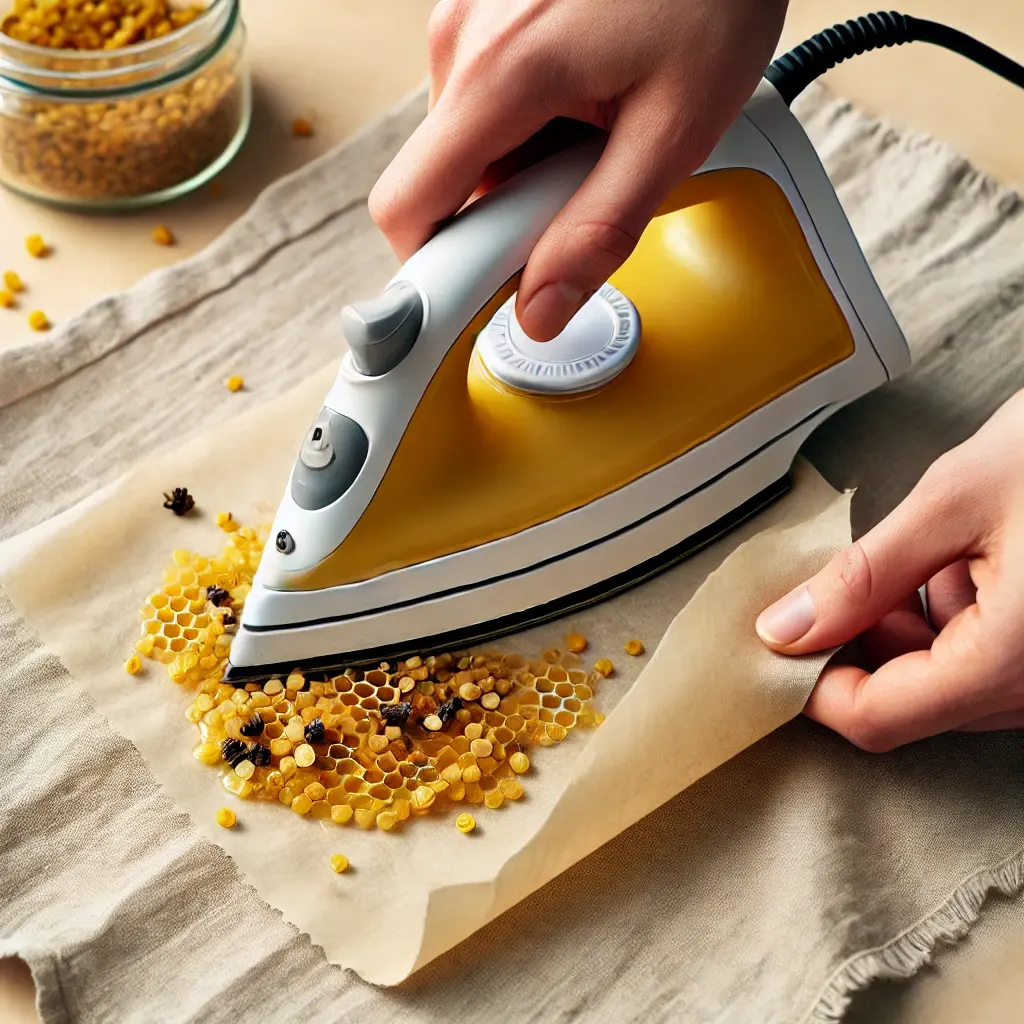
Cover the fabric and beeswax pellets with another sheet of parchment paper to protect the iron.
Step 6: Apply Heat with an Iron
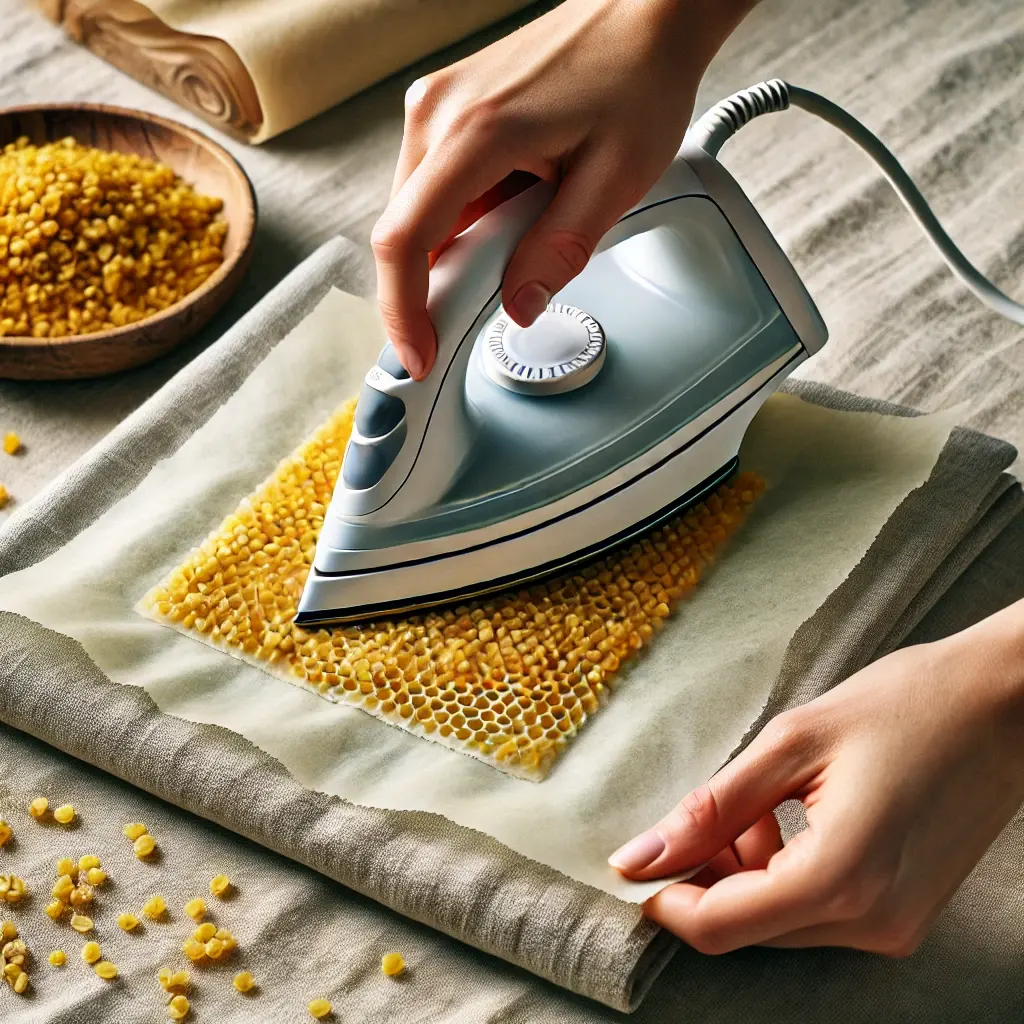
Use an iron on medium heat to melt the beeswax, moving it across the parchment paper until the wax is fully melted and absorbed into the fabric.
Step 7: Let Cool and Dry
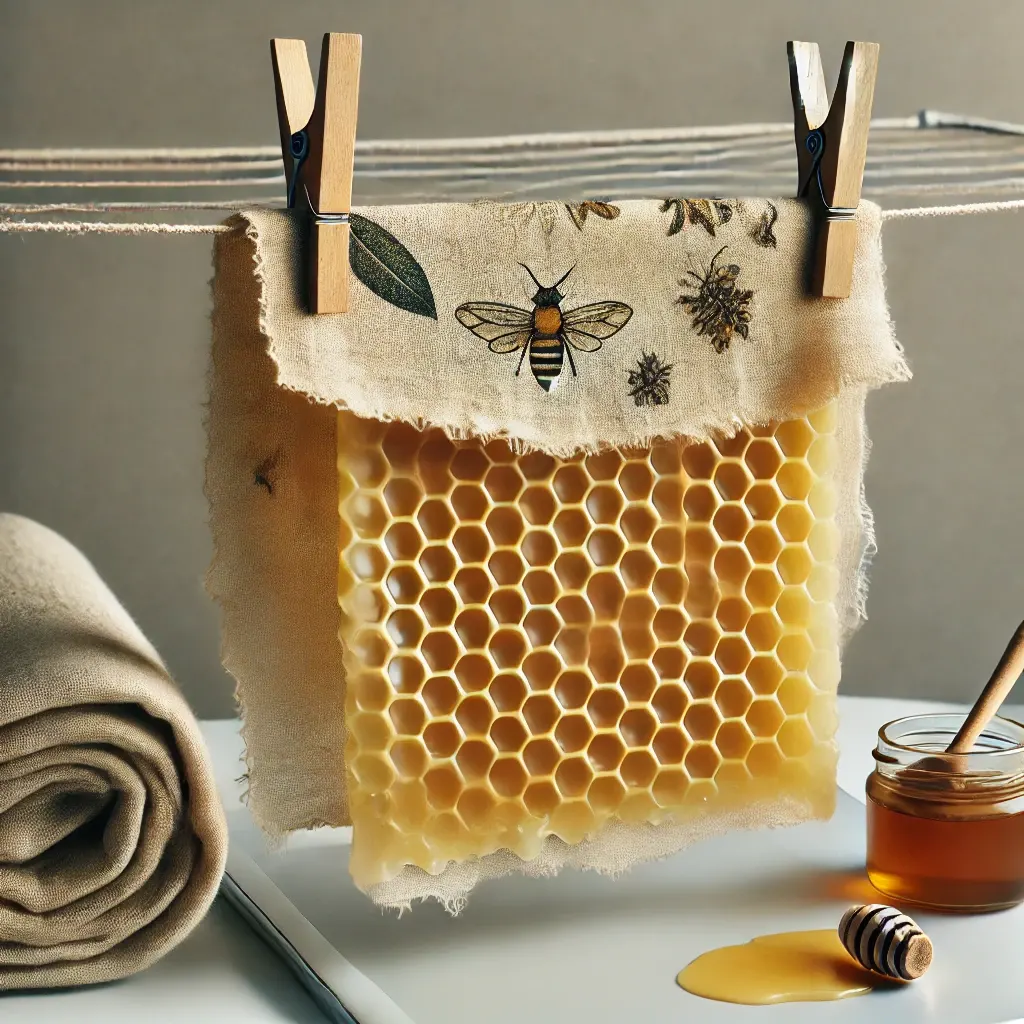
Once the beeswax is melted, remove the parchment paper and hang the fabric to dry. It should harden quickly.
The Benefits of DIY Beeswax Wraps
In a world taken over by disposable plastic in our kitchens, finding a functional and fun alternative is hard. Say hello to DIY beeswax wraps-the sustainable solution you never knew you needed. These wraps are one gorgeous way to reduce waste, save a few bucks, and make a personal touch to daily life. Let’s dive in to see why making your beeswax wraps will be your next fun project with a purpose.
1. Reducing Plastic Waste
One of the more apparent, widespread benefits of using beeswax wraps is that they can do a pretty comparative job to plastic wrap. Non-biodegradable cling film, that ultra-thin layer of plastic we reach for to protect leftovers or wrap sandwiches, ends up in landfills, oceans, and even down the food chain. In contrast, DIY Beeswax Wraps are 100% natural and reusable. Besides that, you can implement the majority of plastic replacements yourself in your household and take some concrete steps towards ecological footprint reduction.
Imagine just how much plastic film you use in a year, and then imagine being able to bring that down almost to zero. It’s an easy swap, but it has a huge impact.
2. Cost-effective and Long-Lasting
Making one set of your beeswax wraps will be much more fun than buying them, besides saving money in the long run. You will need some simple things: a piece of fabric, beeswax, and some manipulators you probably already have in your kitchen. They are capable of serving you for about a year. It is much better than the endless buying of rolls of plastic wrap. The investment pays off in the long run.
3. Customizable and Creative
As someone who appreciates hands-on jobs, you will find that making your beeswax wraps is a very fulfilling experience. You could choose fun fabrics in prints, bright colors, or whatever suits your kitchen mood. It is an opportunity to be creative; ultimately, you have something distinct and personal. The entire process is so simple that one can use it as a weekend project alone or with family and friends, adding an element of enjoyment to environmental conservation.
Your wraps come in alternate colors and various sizes. Perhaps you need something small for that half lemon or a larger wrap to cover a salad bowl with such a DIY approach. Whatever option suits you.
4. Versatile and Practical
Beeswax wraps are not only used for covering food. They can wrap sandwiches, cover bowls, or even be folded to make snack pouches for on-the-go treats. The wax coating makes them cling to surfaces naturally, while little warmth from your hands makes them mold into the shape of your choice. Once they cool down, they form a seal that keeps food fresh, just like plastic wrap, but without the guilt of harming the environment.
The best way to cleanse these items is to rinse them briefly in cold water with mild soap afterward. They dry quickly and can be reused quickly.
5. Natural and Chemical-Free
Beeswax wraps help us achieve the peace of mind we all desire, given our increased awareness about what touches our food. These wraps are made from simple ingredients like cotton fabric, beeswax, and sometimes a little jojoba oil or pine resin, making them safe for food storage and harmless.
Contrary to plastic wraps, which might release dangerous components into foods, beeswax wraps are nontoxic in the long run because they not only preserve but also do not pollute the environment when discarded.
6. Building an Eco-Friendly Routine
When you introduce it in your kitchen, you are not only changing for good; instead, you will be building a more sustainable and mindful way of life. This seemingly insignificant change may begin to generate changes in our approach towards consumption and waste. And let’s face it – by engaging in DIY work, things become much deeper. It goes beyond just being an item found on a shelf inside the house – it reminds us about our daily decisions regarding protecting our planet.
7. Sharing Sustainability with Others
Beekeeping wraps are another way to contribute to sustainability in our communities. They are good presents because they are useful as well as attractive. Gifts made from beeswax wraps can encourage further discussion on environmentalism. To a friend trying to avoid plastic or a family member interested in crafts, such presents help initiate conversations about green habits or practices.
How to Use Beeswax Wraps
To use beeswax wraps, mold them around food items or containers using the warmth from your hands to create a secure seal. They are best for covering bowls and wrapping fruits, vegetables, or sandwiches. Avoid exposing them to heat like microwaves or hot food. It is also safe to refrigerate food with beeswax wraps, but they aren’t suitable for the freezer. When not in use, fold and store them in a cool, dry place to extend their lifespan.
- Wrap Around Food Items: Gently place beeswax wraps on food. To make them more adhesive, apply heat from your palms while holding them and press down firmly so that all sides touch the food.
- Cover Bowls and Containers: Beeswax wraps can seal bowls or containers properly. Put the wrap over the bowl’s or dish’s opening and press the edges down to make a tight seal. The wrap will be held in place by beeswax’s natural stickiness.
- Avoid Heat and Direct Sunlight: Beeswax wraps do not fare well with heat. Please do not use them to wrap warm food or put them in any kitchen appliance like a microwave, oven, or dishwasher. With heat exposure, beeswax melts, and the wrap loses its function.
- Refrigeration and Freezing: Beeswax wraps can be safely stored in the refrigerator for short-term use. However, they should be avoided for freezer storage, as the cold can make them brittle over time.
- Fold for Easy Storage: When unused, fold your beeswax wraps and store them in a cool, dry place. Keeping them away from direct sunlight or heat will help prolong their lifespan.
Beeswax wraps are versatile and easy to use. With just the heat from your hands and the wraps’ flexibility, you can cover and protect a wide range of foods and containers without the need for single-use plastic.
How hygienic are beeswax wraps?
Food storage hygiene is possible with beeswax wraps because of their countenance, which contains slight antiseptic properties. When used appropriately, these wraps ensure our food remains fresh by inhibiting bacterial growth and multiplication. Always wash them using only cold water and gentle antibacterial soap after every single use to keep them clean.
Remember not to cover raw meat or fish directly since this can introduce harmful germs into the body. Beeswax wraps can thus be considered a hygienic and environmentally friendly means of food preservation.
Comparing Beeswax Wraps and Plastic Wrap
To highlight the advantages of beeswax wraps, let’s take a closer look at how they stack up against traditional plastic wrap:
| Factor | Beeswax Wraps | Plastic Wrap |
| Reusable | Yes | No |
| Biodegradable | Yes | No |
| Antibacterial | Yes | No |
| Cost-Effective | Yes | No |
| Food Quality | Improved | Not affected |
| Environmental Impact | Low | High |
Frequently Asked Questions
How long does beeswax wrap last for?
Beeswax wraps can last six months to a year, depending on usage frequency and maintenance. If taken good care of—for instance, washed with cold water, soap-free from chemical additives, and insulated from sun rays—they will serve you for a long time. When the stickiness begins fading away, you can renew them by adding another layer of beeswax or throw them away into compost, as they are biodegradable.
Can beeswax wraps be used in the microwave?
No, beeswax wraps must not be used in the microwave. The heat from the microwave causes the beeswax to melt and potentially damage the wrap or the microwave itself. It’s best to use beeswax wraps for room-temperature or chilled food storage only.
How to wash beeswax wraps?
To clean beeswax wraps properly and ensure they last longer, follow these simple steps:
- Use Cool Water: Always rinse beeswax wraps in cool or lukewarm water. Hot water can melt the wax, causing it to lose its protective coating.
- Mild Soap: Apply a small amount of gentle, alcohol-free dish soap. Harsh soaps can deteriorate the wax layer.
- Soft Cloth or Sponge: Gently wipe the surface with a soft cloth or non-abrasive sponge to avoid scratching or removing the wax.
- Air Dry: Once cleaned, hang or lay the wraps flat to air dry. Avoid wringing or twisting them.
- Avoid Heat: To maintain their integrity, keep the wraps away from heat sources like microwaves, ovens, and direct sunlight.
Following these steps, you can keep your beeswax wraps clean, functional, and long-lasting.
Can beeswax wraps be used to cover hot food?
Beeswax wraps are not recommended for covering hot food, as the heat causes the beeswax to melt and potentially make a mess. They’re best used for room-temperature or chilled food storage. For hot food, use oven-safe containers or other heat-resistant options.
How do I store my beeswax wraps when not in use?
When unused, fold the beeswax wraps neatly and keep them in a cool, dry place. For storage, use a kitchen drawer, a basket, or even the pantry. Avoid putting them near heaters like stoves or in direct sunlight since heat makes wax melt, reducing its effectiveness. Proper storage will prolong the lifespan of your wraps, making it easy to reuse them later on.
What Are Beeswax Wraps Used For?
Beeswax wraps are an eco-friendly, sustainable replacement for plastics. They are used mostly in the kitchen to wrap food. Fruits, vegetables, sandwiches, cheese, bread, and anything else can be wrapped with them to keep freshness inside. They are also great to put over bowls and containers for an airtight seal without the waste of single-use plastics. Beeswax wraps are one way to keep a home natural and wrap on-the-go foods using sustainable means.
What is the process of making beeswax wraps?
To make your beeswax wraps, follow this simple recipe:
- Materials Needed:
- 100% cotton fabric (cut to desired size, such as 8×8 or 12×12 inches)
- Beeswax pellets
- Brush (optional)
- Parchment paper
- Iron
- Instructions:
- Cut the fabric to your desired size.
- Prepare the fabric by laying it on parchment paper.
- Sprinkle beeswax pellets evenly over the fabric. Adjust the amount of beeswax based on the thickness of your wraps.
- Cover the fabric with another piece of parchment paper.
- Use an iron on medium heat to melt the beeswax, ensuring it is absorbed evenly across the fabric.
- Cool and dry the wrap by hanging it up. The beeswax will harden quickly, leaving your wrap ready for use.
Conclusion
Beeswax wraps are a remarkable, eco-friendly alternative to traditional plastic wrap. Following the steps outlined in this comprehensive guide, you can easily make your DIY beeswax at home, saving money and reducing your environmental impact. Whether wrapping up leftovers, covering a bowl of fresh produce, or packing a sandwich for lunch, these versatile wraps will keep your food fresh and your conscience clear.
Remember, small changes can make a big difference, and by embracing beeswax wraps, you’re taking a step towards a more sustainable lifestyle. So, grab your materials, get creative, and enjoy the many benefits of homemade beeswax wraps today!
Leave a Reply